… I feel like this blog has become somewhat of a weather report but us brits are obsessed by the weather so I apologise for nothing… and so whilst the east coast of the US has been battered by arctic weather and enough snow to fill a child’s dreams for 20 years, once that storm left the US it headed over here. On it’s journey over the atlantic it warmed up and snow turned to rain and wind… lots of wind. We’re back at the cottage for the weekend and whilst it’s quite warm outside for the time of year there is a very strong wind battering the countryside. It’s quite odd. Sun is shining but the trees are swaying quite alarmingly and if that garden gate squeaks any more my brain may explode. I know it’s only the end of January but I really need a holiday. It doesn’t help that i’ve been researching Greek food for this pita recipe… all those pictures of azure blue waters, al fresco tables laden with wonderful summer dishes and image after image of bronzed bodies by infinity pools is enough to drive you to dampen the fire, close the shutters, pack your suitcases and actually book that holiday. I adore the cold. I love a snowy landscape and a christmas tree but I need some warmth in my bones and the hot sun on my face…
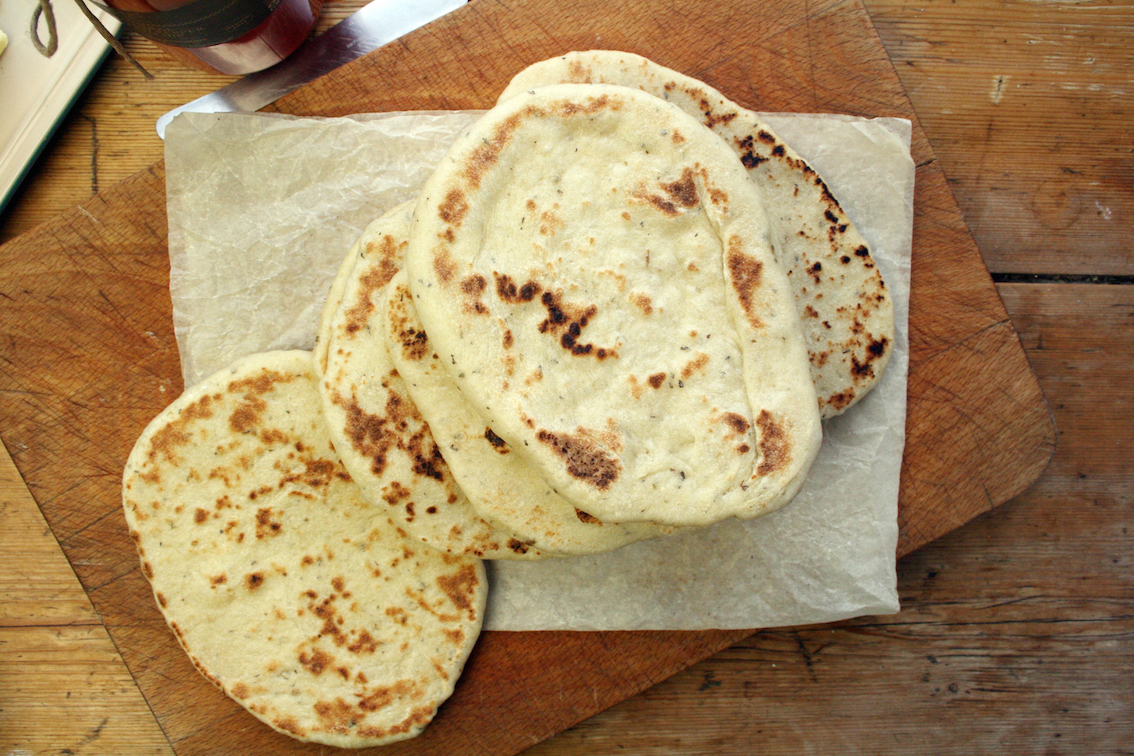
oregano and mint Greek pita bread
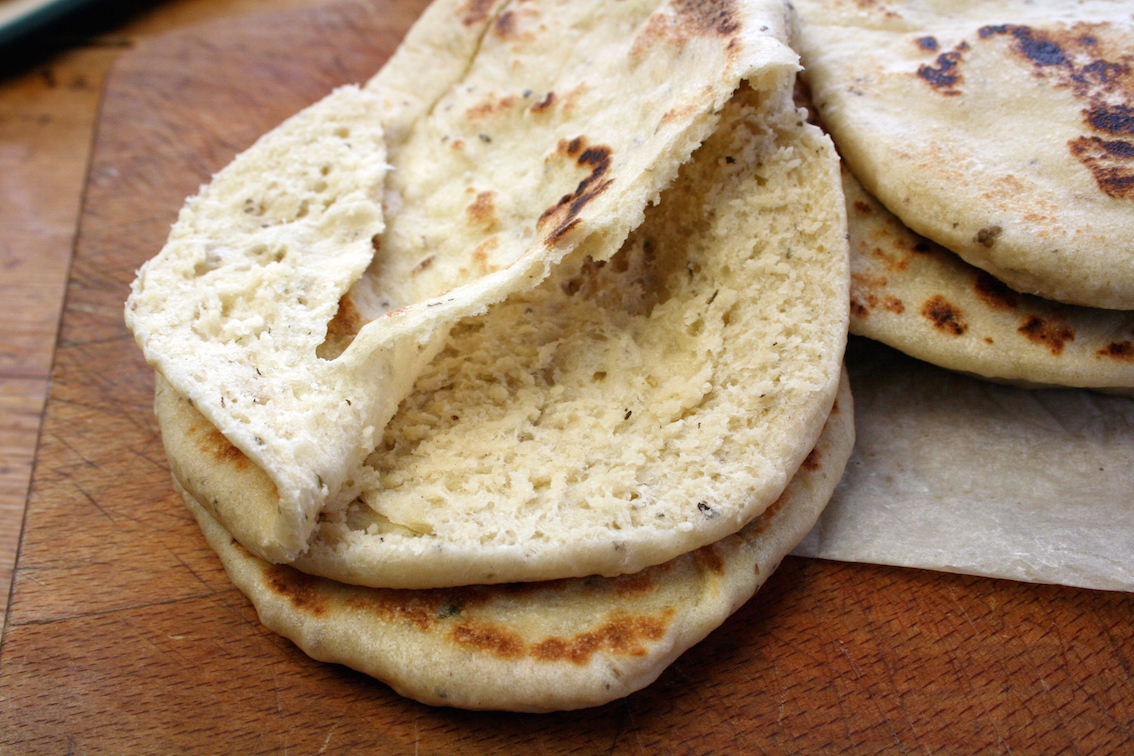
i’ve never made pita before so when the kind people from luxury travel company destinology contacted me and asked me to create an authentic recipe that originates from one of their most popular holiday destinations, Greece, my thoughts turned immediately to bread. I adore local breads and love the way that almost all countries, cities, town and very often even villages have their own local special breads. If i’m on holiday or visiting a place I will always try and seek out the local loaf… and inevitably the local cheese to eat with said loaf… I feel it connects you with the people, the history, the local farmers and how they harvested the crops. As a kid growing up in suburban London I remember mum bringing home pita bread for the first time and how we all marvelled at the way, when toasted they puffed out allowing a knife to slide in and create the perfect pocket for whatever glorious fillings we chose to stuff it with… I don’t even think we knew what a falafel was back then so they’d get stuffed with salad and whatever meats we had to hand. Of course, since then our pallets and knowledge of ‘foreign’ food has matured somewhat but I think you’ll find the humble pita is still the most user-friendly of breads…
… to help inspire me to bake I was sent some classic Greek herbs plus a glorious jar of the divine Navarino Icons roasted red pepper and tomato dip and of course this made me instantly think of warm toasted slices of pita…
240ml hot water
2 teaspoons instant yeast
320g plain flour
2 teaspoons salt
1 teaspoon dried oregano
1 teaspoon dried mint
1 tablespoon olive oil
in a large bowl mix the water and yeast together and let sit for about five minutes until the yeast is dissolved.
add the flour, salt, mint, oregano and olive oil and then bring together with a rubber spatula and then get your hands in and begin to knead into a ball. Once you’ve got all the flour off the inside of the bowl and the dough has begun to smooth out slightly, flour your work surface and place the dough onto it. Oil the inside of the bowl and set aside.
knead the dough for about 5-7 minutes, until the dough is smooth and elastic. You shouldn’t need to use too much flour whilst kneading but if the dough is sticking then use flour sparingly.
place the dough in the oiled bowl, cover with cling film and let it rise until it’s doubled in size, about 1 hour.
at this point, you can refrigerate the pita dough until it is needed. You can also bake one or two pitas at a time, saving the rest of the dough in the fridge. The dough will keep refrigerated for about a week.
turn the dough out onto a lightly oiled work surface. Divide the dough into 8 equal pieces and gently flatten each piece into a thick disk. Using an oiled rolling pin, roll one of the pieces into. It will pull back due to the elastic nature of the dough but if you lift and turn the dough frequently as you roll it should begin the stay in shape… I actually pulled it out quite a bit before throwing into the pan… repeat with the other pieces of dough.
warm a frying pan over medium-high heat – you won’t need to add any oil because you’ve used oil to roll out the pita but ensure the pan is very warm although not smoking hot. Throw in a rolled-out pita and bake for 30 seconds, until you see bubbles starting to form. Flip and cook for 1-2 minutes on the other side, until large toasted spots appear on the underside. Flip again and cook another minute to toast the other side. Set aside until all your pita’s are cooked. They were of course delicious eaten straight away but I preferred them toasted in a toaster, split or sliced and slathered with butter.
eat and of course, enjoy!


 for my book


They look like perfect specimens, Dom. Now can we have a recipe for Falafel please?
I've been reformatting all of my old blog posts back to 2008…and mine reads like a weather report too. Lovely recipe
That looks like a darn good pita Dom! I would never have thought about adding mint…… lovely addition! x
Thanks Mark. I've never made falafel. I'll have to do some research!!
Well. What is there really that we have to talk about but the weather?
Thanks honey. The dried mint is not what is usually use but it's worked perfectly.
Ooh wonderful stuff Dom. I've made pitta a couple of times now and they were great, but I'm rather regretting not adding mint and oregano now. I want the sun and blue skies, but really feel I need a bit of proper winter first – with sun and blue skies!