… just a quick post today as it’s a crazy week of events for The Persuaders as all the pre-christmas madness kicks in…
crusty white low-knead loaf
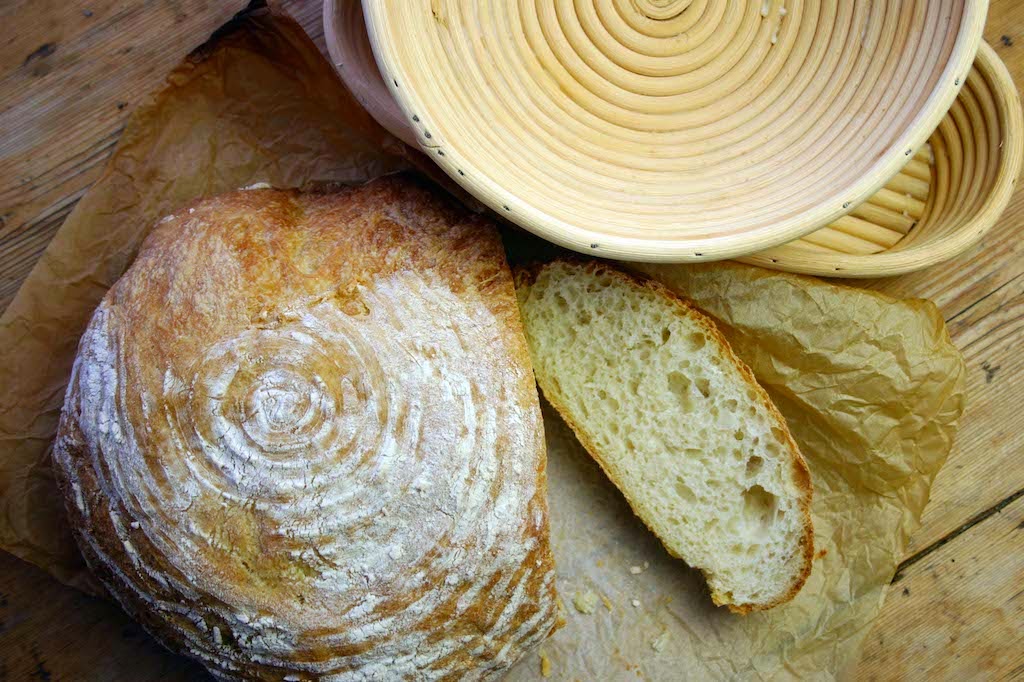
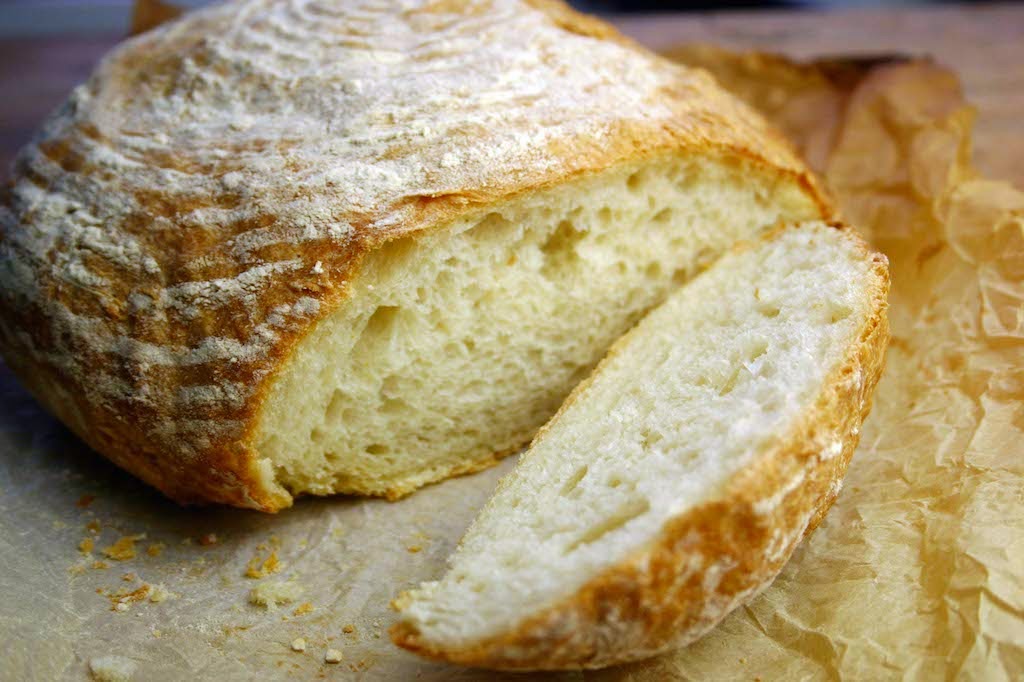
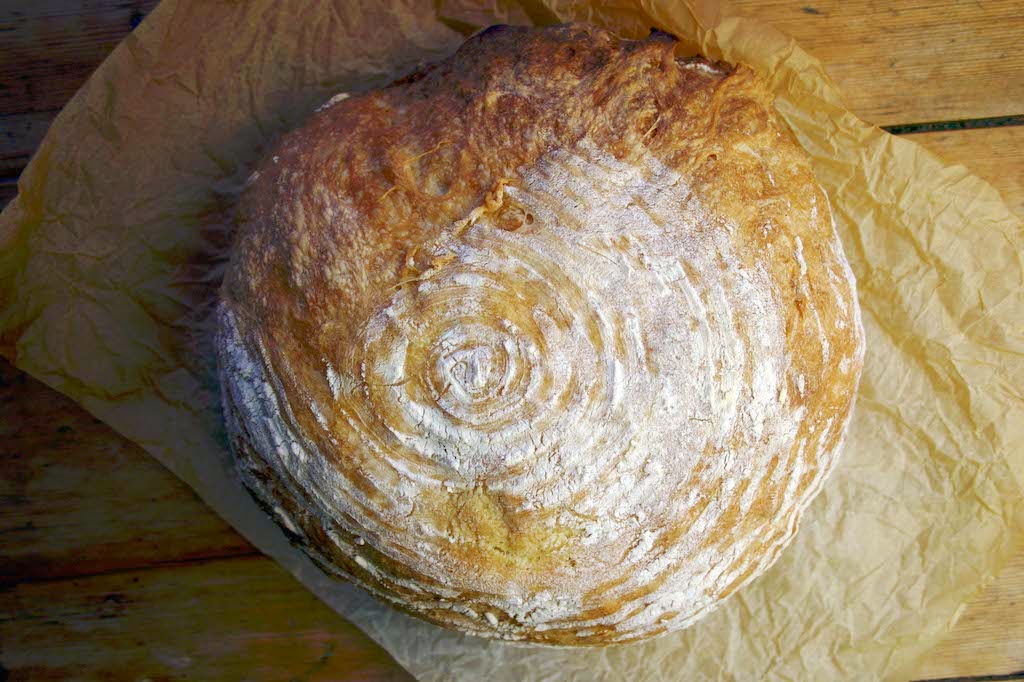
as regular readers will know I’m forever struggling for that perfect loaf of bread… every Friday, without fail I knock up 2 loaves of bread and because i’m excessively lazy and once I find a technique that works I kind of like to stick to it, I tend to always use my low-knead method. With that said, it’s always nice to find new products created specifically to enhance my bread baking so when the good folk at Kitchen Craft offered me a selection of their Home Made, Bread Making Range who was I to refuse? I opted for a few different shaped proving baskets and also a dough scoring lame. The lame is totally practical and not only can I not fault it but I can’t really understand how I lived without such a simple scoring tool – easy to use and clean, always a bonus… as for the proving baskets… what can I say? We’re all a sucker for that artisan look right? I mean who doesn’t want their bread to look as though they’ve just cycled through the French countryside on a warm summer morning to pick up a loaf or two from the local boulangerie… and look at this beauty… light and fluffy, perfectly seasoned with that incredible crusty crunch revealing the white-as-a-cloud fluffy interior… if you haven’t tried the low-knead method yet, well you simply must make this bread… follow the instructions to the letter and I promise you that you won’t fail…
enough to make 2 loaves (why make one when you can make two with the same effort)
800g strong white bread flour
2 sachets or 2 heaped teaspoons of fast-action dried yeast
2 heaped teaspoons salt (very important – don’t leave this out or your bread will not taste nice)
600ml regular tap water
olive oil and extra flour for dusting
place the flour, yeast and salt in a very large ceramic bowl and stir together, then pour in the water and bring together using a rubber spatula – scrape down the sides of the bowl and mix the dough until all the dry flour is gone and you’re left with a sticky, shaggy mess – cover with a tea towel and set aside for 10 mins. Wash and dry your spatula as you will need it clean for the next stage.
oil your work surface with a generous glut of olive oil and using your right hand, wipe the surface in a circular motion to coat the surface in oil. Then, use your right hand to remove the dough from the bowl and place it on the oiled surface.
take the spatula and clean the bowl, then drizzle the bowl with a little olive oil and using your right hand wipe the inside of the bowl to coat it in oil. Now knead the dough with your oiled hand 8 times… it doesn’t even need to be a sophisticated knead, just a fold, push and quarter turn… you should, even at this stage be able to feel that the dough is soft and light… then place it back into the oiled bowl, cover in a tea towel and set aside for another 8 minutes. Repeat this twice more.
After the final quick knead, cover the bowl in cling film and set aside until the dough has proved to double the size… this should take roughly and hour but it depends on the warmth of the room
pre-heat the oven to 220C and place an empty baking tray at the bottom of the oven
oil your work surface and tip the dough out onto it. Punch the dough down and make a rough oval shape… you’re now going to do some folding and turning that will put air back into the dough and create layers which in turn should create a beautifully aerated loaf…
fold down the dough halfway from the top and then fold up the dough over from the bottom. A classic ‘gatefold.’ Give the dough a quarter turn and repeat the gatefold. Then cut the dough into two halves.
You essentially now have your two loaves and can do with them what you like. One half could go into a classic loaf tin or you could form them into round balls to bake, it’s up to you.
If you’re using the proving baskets like me you need to generously flour the basket interior, then prepare a large bowl with a little flour in it… form your dough into a ball, pick it up from its base and dip it into the flour, rolling it a little to coat as much of the sides as possible, then place it face down into the proving basket and set aside for 30 minutes
once you’re ready to bake, place a baking tray over the proving basket and invert the basket onto it, the dough should slip out easily
quickly open the oven and pour a jug of water into the baking tray in the bottom and then pace your loaves into the oven… bake on 220C for 10 minutes and then reduce the heat to 180C for a further 20 minutes… the bottom of the loves should sound hollow when tapped… hard as it may be, set aside to cool completely before eating!
eat and of course, enjoy!


A lovely loaf! My favourite thing in the whole world is making bread, and wouldn't be without my proving basket and lame!
Thanks. I love discovering new old things!
I bought a couple of proving baskets after my River Cottage baking day a couple of years ago – I think they are fab
Dark rye and wholemeal bread is our daily fare, but there is nothing quite as delicious as a piece of good white bread and yours looks perfect.
I've got one from a baking course I did five years ago, but never think to use it – doh!
I bought a proving basket this year in France but haven't baked bread since! I hope they look even half as good as these when I do!
This is certainly easier than Julia Child's twenty-seven page recipe for French bread. A recipe that I first attempted with a toddler and an infant in the house!! I am going to copy it down and, who knows, when the winter winds blow, I just might make two loaves.
Best,
Bonnie
Dom, the bread looks delicious – but I'm struggling with the second to last sentence…..leave to cool completely? I don't think I could. ;))
Wow, how easy is this and the bread looks amazing. Proving baskets are on my Christmas wish list. Fingers crossed.
I too would struggle with leave to cool completely.
Hi Dom!!!!! It's been long time since I left a message on your blog! This bread looks amazing! well done! I also have those proving baskets…I love them!
I'm so inspired by your bread making, this is just the kind of thing I want to be able to make…I'm going to give this one a try, thanks Dom!
Yep, I have to admit that that bread looks pretty well perfect! …From the “Belleau Boulangerie”. Needs some home-made butter now, Dom!
Great photography Dom! I can practically smell the bread!
GREAT looking loaf Dom and I have just received my baking goodies too, so it's on with my baking hat this weekend! Lovely photos too……K xxx
The crust looks super gorgeous !
Kristy
Beautiful loaf of bread! The crumb looks perfect. I've been eying one of those proofing pans and I think I need to bite the bullet and get it.